Showing posts with label Craft. Show all posts

Monday, August 6, 2012

DIY Magnet Board

I've been wanting to do this fun and easy craft all summer, but I never got around to buying cheap cooking sheets, and I just decided to forgo bringing one more DIY project with me to college. But lo-and-behold, at my cousin's yard sale, I snagged some tin lids that were dumpster-bound (for free at the end of the day!) to make my lovely magnet boards. It's pretty self-explanatory, but I'll walk you through my process.

First, for supplies, you'll need

  • Any amount of tin lids, cookie sheets, or anything else you find that a magnet will stick to
  • Fabric (or you could always paint them, and then skip the next couple supplies)
  • Spray glue and/or a hot glue gun
  • Scissors
  • Iron
  • String or ribbon
  • Buttons & magnets to make DIY magnets out of buttons
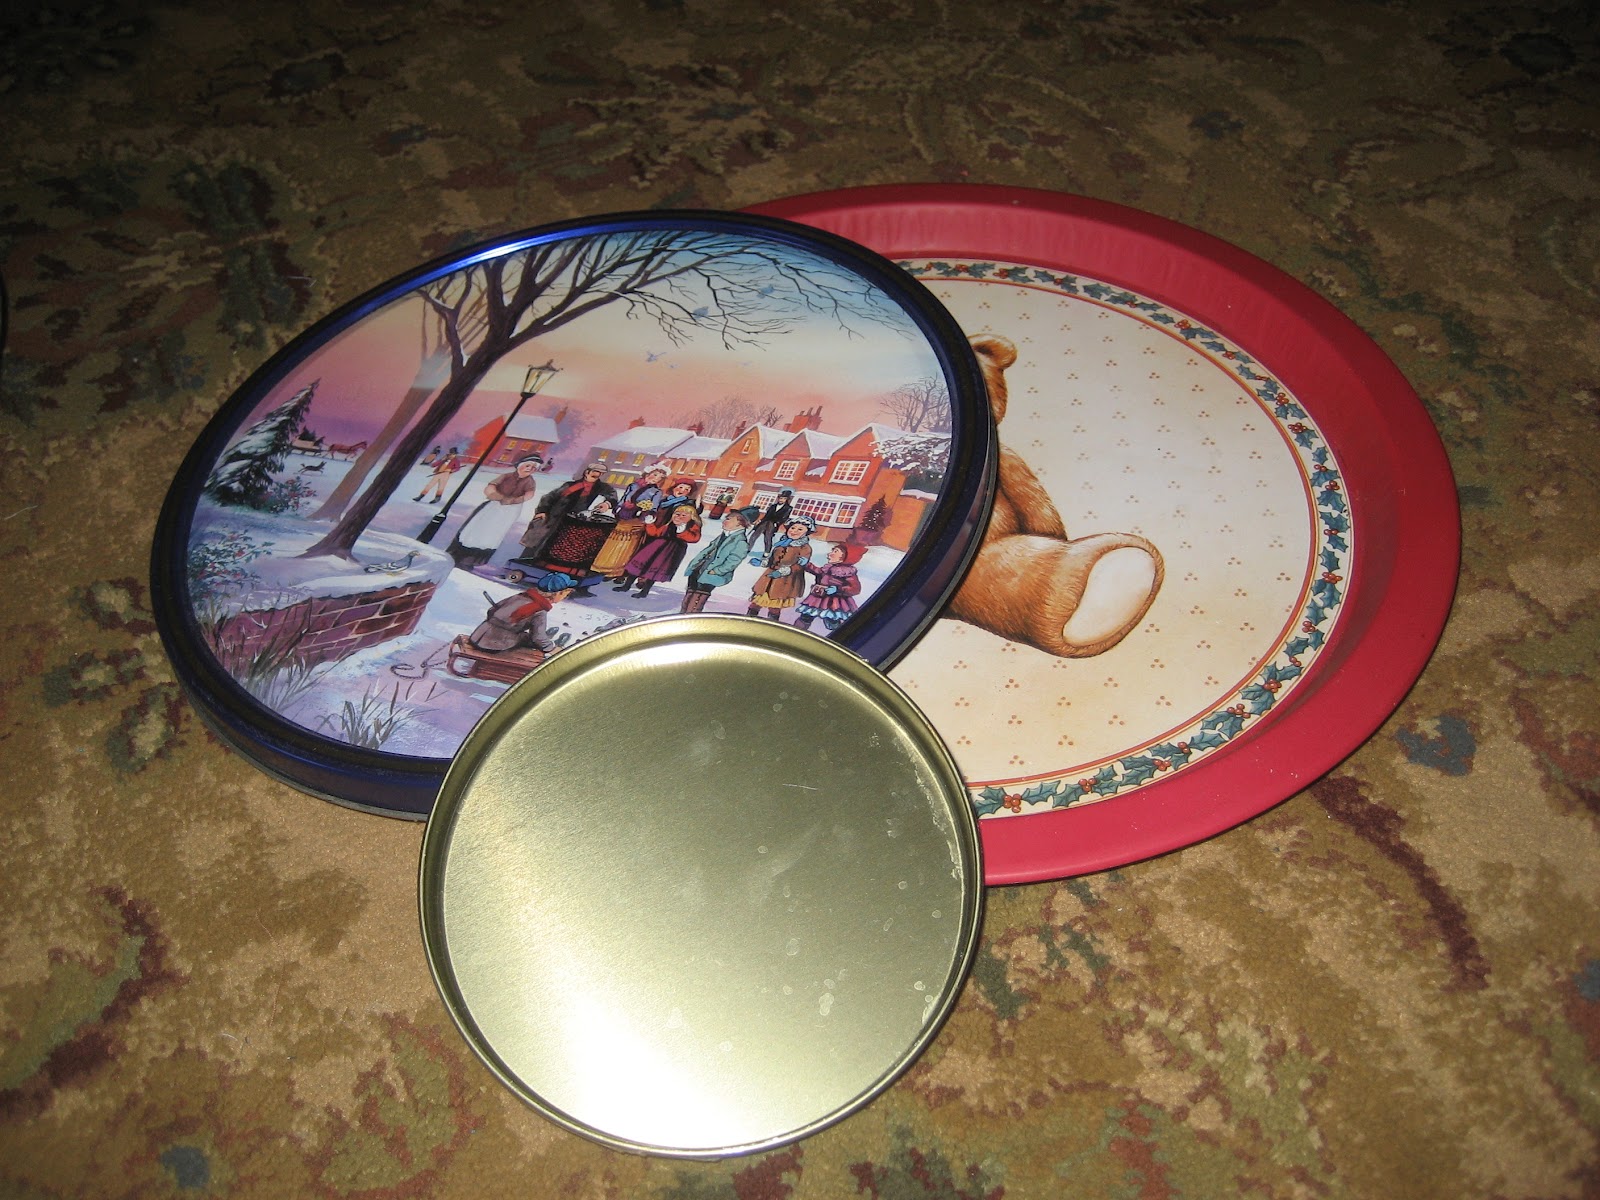
 Because 3 is a magic number - anything in sets of 3 seems to work lovely - I took 3 lids of varying sizes (and themes...)

I then chose 3 different patterns of fabric - one bold graphic and two solid colors.


I cut the fabric in circles a little bigger than the lid (or tray, in the case of the above picture). In the picture above, you see the back side of the magnet board. I spray glued the fabric down on the front and then cut little strips on the edges so that it would fold smoothly over the edges of the tray. I ran out of spray glue by the time I got to this step, so I just substituted the ever-faithful hot glue gun.


And here is the finished product, complete with homemade button magnets (simply get magnet strips with one sticky side and stick 'em on old buttons). I decided to make art out of my magnet boards by attaching a string to the back of them so they hang like a sculpture. Absolutely adorbs. You'll be seeing this in my feature on my dorm room in a month or so :)

Wednesday, August 1, 2012

Alternative Whiteboard

Ok, this is my last crafty post for today - perhaps for a while. When I went school shopping a few days ago, I was disheartened to find out how much whiteboards cost - and how completely boring they are. So I decided there was a better way. I mentioned in my "Homemade, Handmade Coasters" post that I was looking through my mom's fabric (it's fantastic to have a mother who's crafty and has all sorts of fun stuff laying around). I also found a few frames in the basement - solution: put fabric behind the frames and instant whiteboard. Another simple five-minute craft.


Handmade, Homemade Coasters

Yesterday morning I got to spend a few hours with my mom being all crafty and such. As I was looking through her fabric (see the next post to find out what I did with it!), she said, "I have something I think you'll have a lot of fun with!" She brought me this from her collection of antiques:
She said she was really only interested in the box, therefore I could have anything inside, and inside are a bunch of old Scrabble-like letters. I had an instant idea: make coasters for my dorm room (so I can protect my new end table from water stains!). All I needed was a hot glue gun and the letter blocks.
 I made four different coasters (oh, and those doilies? yup, they're coming with me too to use as more coasters).

(this is my roommate)

 I'm all for the five-minute craft, and this is about as easy as it gets.


Refinished End Table {that I'm in love with}

All summer my goal has been to find a cute little bookshelf that I can have next to my bed when I go back to college in an attempt to make my dorm room as homey as possible this year. I'd seen several bookshelves that could work, but none of them really stuck with me...until this one. I watch a lot of wedding dress shows, so my mentality going into this search was that when I found "the one" I would know, I would just get this feeling down in my stomach that it was meant to be. That's what happened when I found this little jewel at an antique mall called the Big Red Barn in Bellows Falls, Vermont.
It was originally $39, but, with the help of my dad, we got them down to $28. He thought it was still too expensive, but I couldn't leave without taking it home with me. Although it's super cute in red, it doesn't really match any of my decor, so I found some paint that we already had to paint it a more neutral color that will stay with me throughout college and beyond. Here is the finished product, and it only cost me $28 plus a few hours of labor (of love!):


Friday, July 20, 2012

Mason Jar Soap Dispenser

Mason Jars are taking over the crafting world - and I can't say I've been immune. My number one goal in life is to have a collection of mason jars that I will use as drinking glasses to sip my lemonade from as I overlook the city in my loft apartment on Beacon Street...

My mom and I decided to make these soap dispensers out of mason jars. At an antique mall (favorite place ever!) we found a vintage mason jar. My dad, with his special tools again (who knows what!) cut a hole in the top of the lid. We took the pump out of a disposable soap container and glued it (with super glue - we used all kinds of adhesives before we found the one that worked best). I also made one to bring back with me to college. So crafty. So cute.


License Plate Bookends

I've gotten caught up in the Pinterest fad, but I actually make a lot of the things I see on Pinterest. Here's one of my favorites so far...and it was so simple! I wanted an easy way to keep my books staying upright when I go back to college in the fall. Using license plates was the perfect way to not only keep my books from falling all over, but also to show some hometown pride in my dorm room. Plus, these bookends aren't bulky, so I don't have to worry about taking up valuable shelf space.

I asked around for some old license plates. I ended up getting three pairs from a friend. If you don't have any generous friends, you can purchase license plates at any antique mall. The only step is to bend the plates. My dad did that for me with some handy tool, so quite honestly, I can't help you there. But I trust your ingenuity to figure out your own way. Here's the final product: