First, for supplies, you'll need
- Any amount of tin lids, cookie sheets, or anything else you find that a magnet will stick to
- Fabric (or you could always paint them, and then skip the next couple supplies)
- Spray glue and/or a hot glue gun
- Scissors
- Iron
- String or ribbon
- Buttons & magnets to make DIY magnets out of buttons
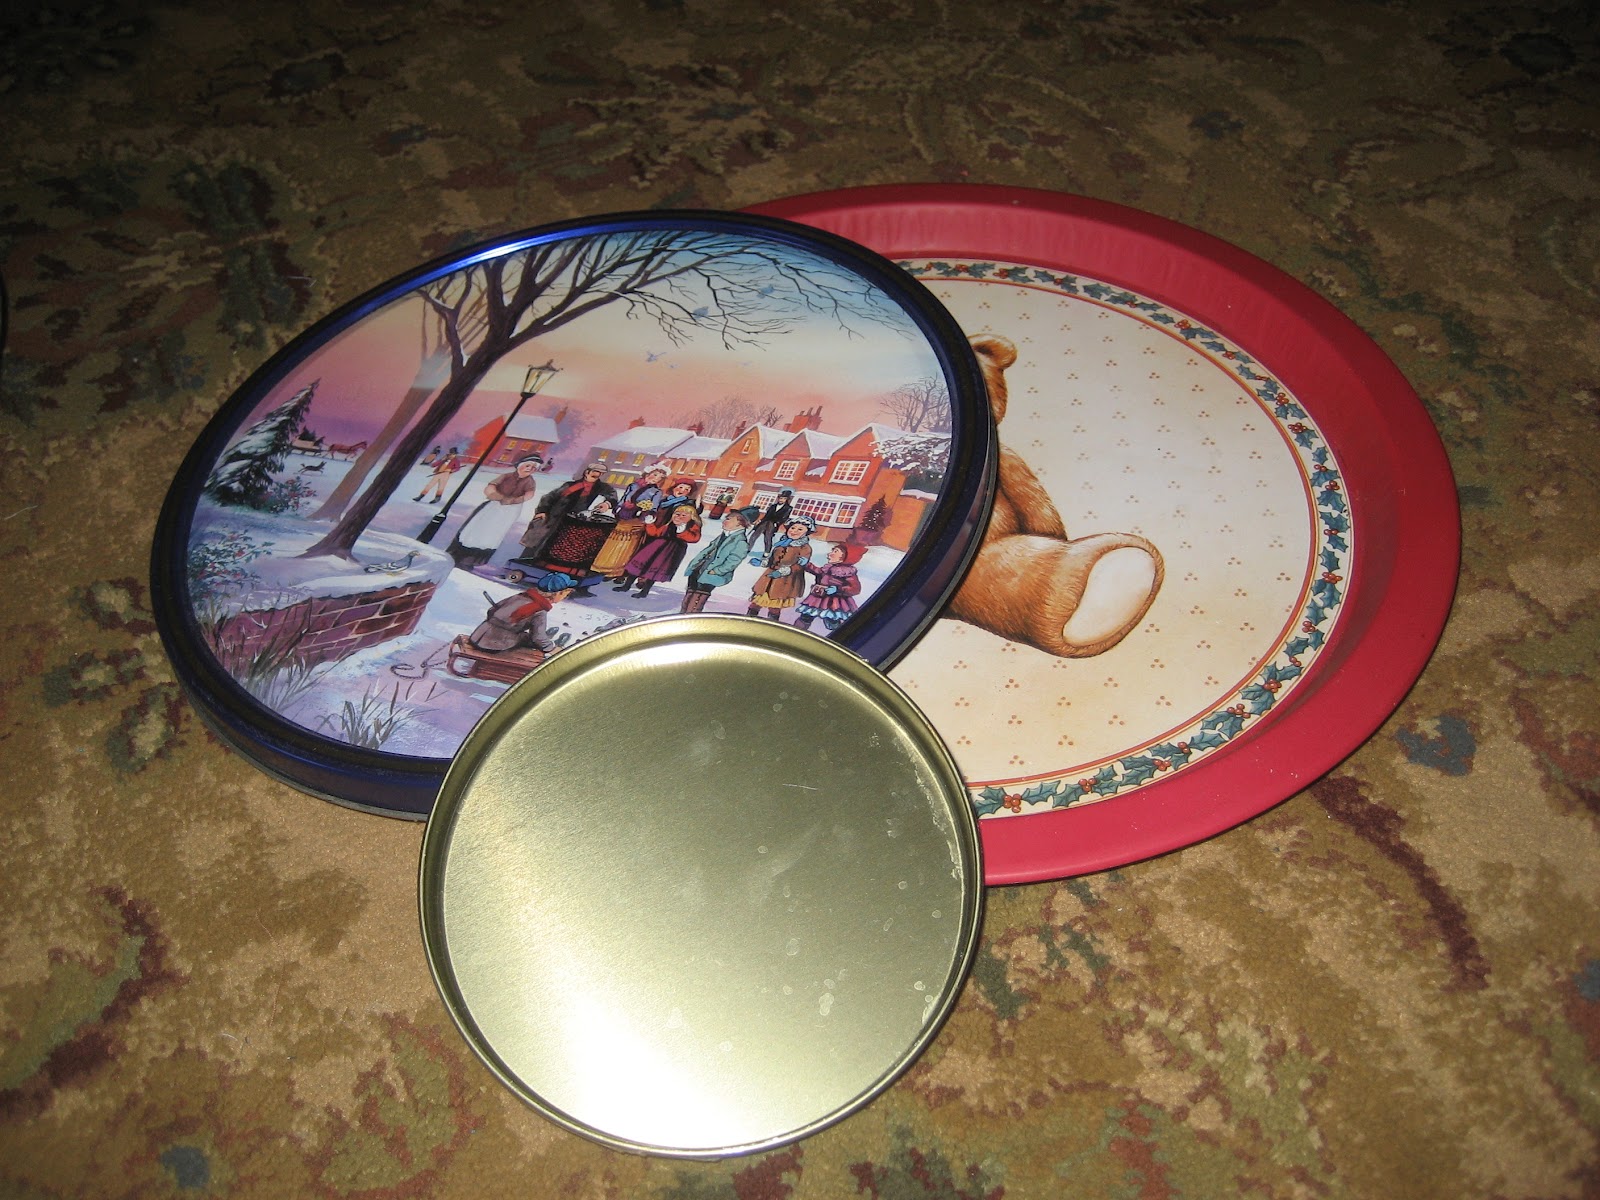
Because 3 is a magic number - anything in sets of 3 seems to work lovely - I took 3 lids of varying sizes (and themes...)

I then chose 3 different patterns of fabric - one bold graphic and two solid colors.

I cut the fabric in circles a little bigger than the lid (or tray, in the case of the above picture). In the picture above, you see the back side of the magnet board. I spray glued the fabric down on the front and then cut little strips on the edges so that it would fold smoothly over the edges of the tray. I ran out of spray glue by the time I got to this step, so I just substituted the ever-faithful hot glue gun.


And here is the finished product, complete with homemade button magnets (simply get magnet strips with one sticky side and stick 'em on old buttons). I decided to make art out of my magnet boards by attaching a string to the back of them so they hang like a sculpture. Absolutely adorbs. You'll be seeing this in my feature on my dorm room in a month or so :)
No comments:
Post a Comment